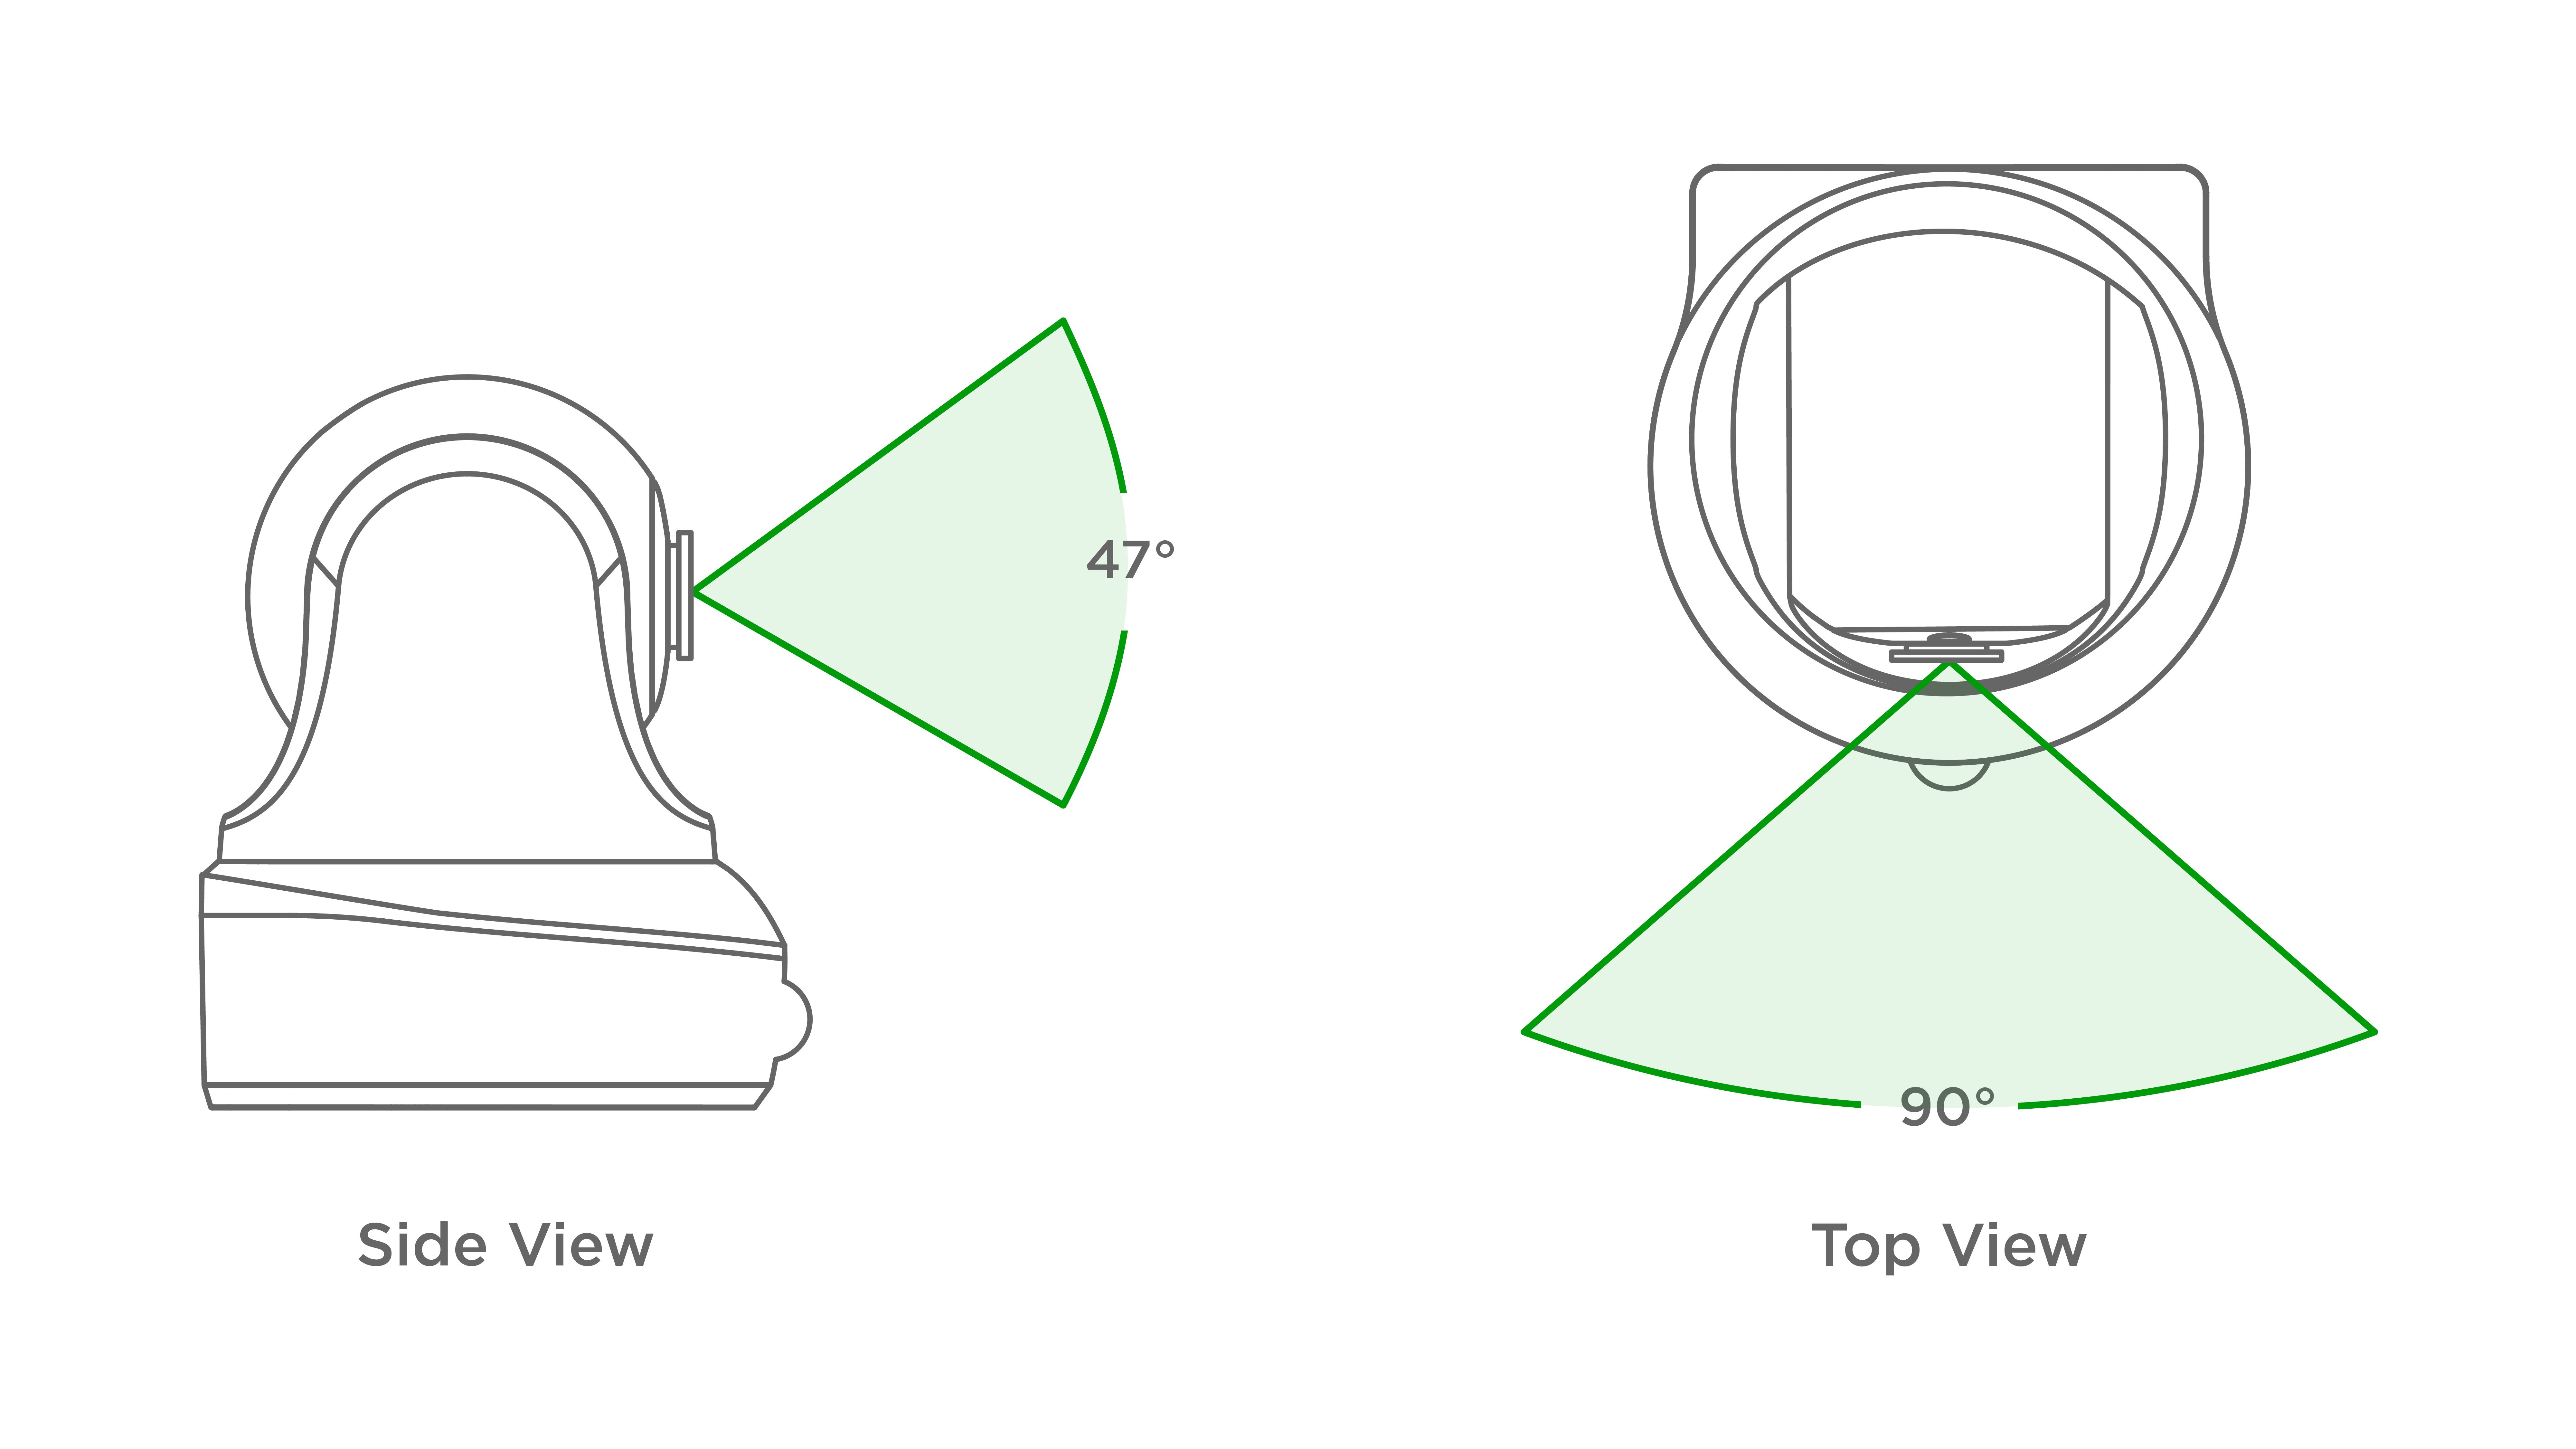
Currently, the following modes of operation are available for the Indoor Fixed Camera:
- Live video streaming (without recording to the Cloud or the SD Card).
- Records upon motion detection if in the Armed Mode (30 seconds).
Currently, the following modes of operation are available for the Indoor Fixed Camera:
- Live video streaming (without recording to the Cloud or the SD Card).
- Records upon motion detection if in the Armed Mode (30 seconds).
To activate the Indoor Motor PIR Camera in the Mobile App, the below simple steps shall be followed:
- Login to your account or download the Perenio Smart application and register a new User account.
- Scan the Camera's QR Code and connect it to your Wi-Fi network.
- Wait until the automatic connection to the Remote Server and Camera is completed.
- Select the Location for the Camera (Place of installation).
For more information, see below or download the manual from our website.
The Camera shall be installed indoors in such a way as to maximally cover the required field of view. It is placed on a horizontal surface or mounted on any surface using screws.
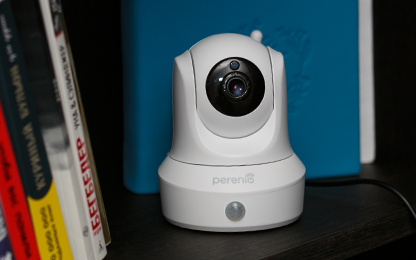
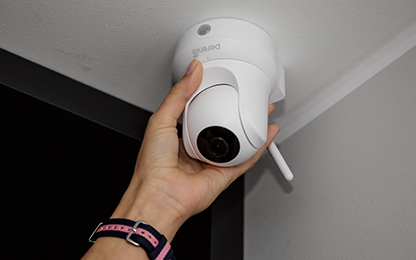
Yes, it’s enough to login to your account, select the Camera from the list of connected devices and click on the VIDEO Button.
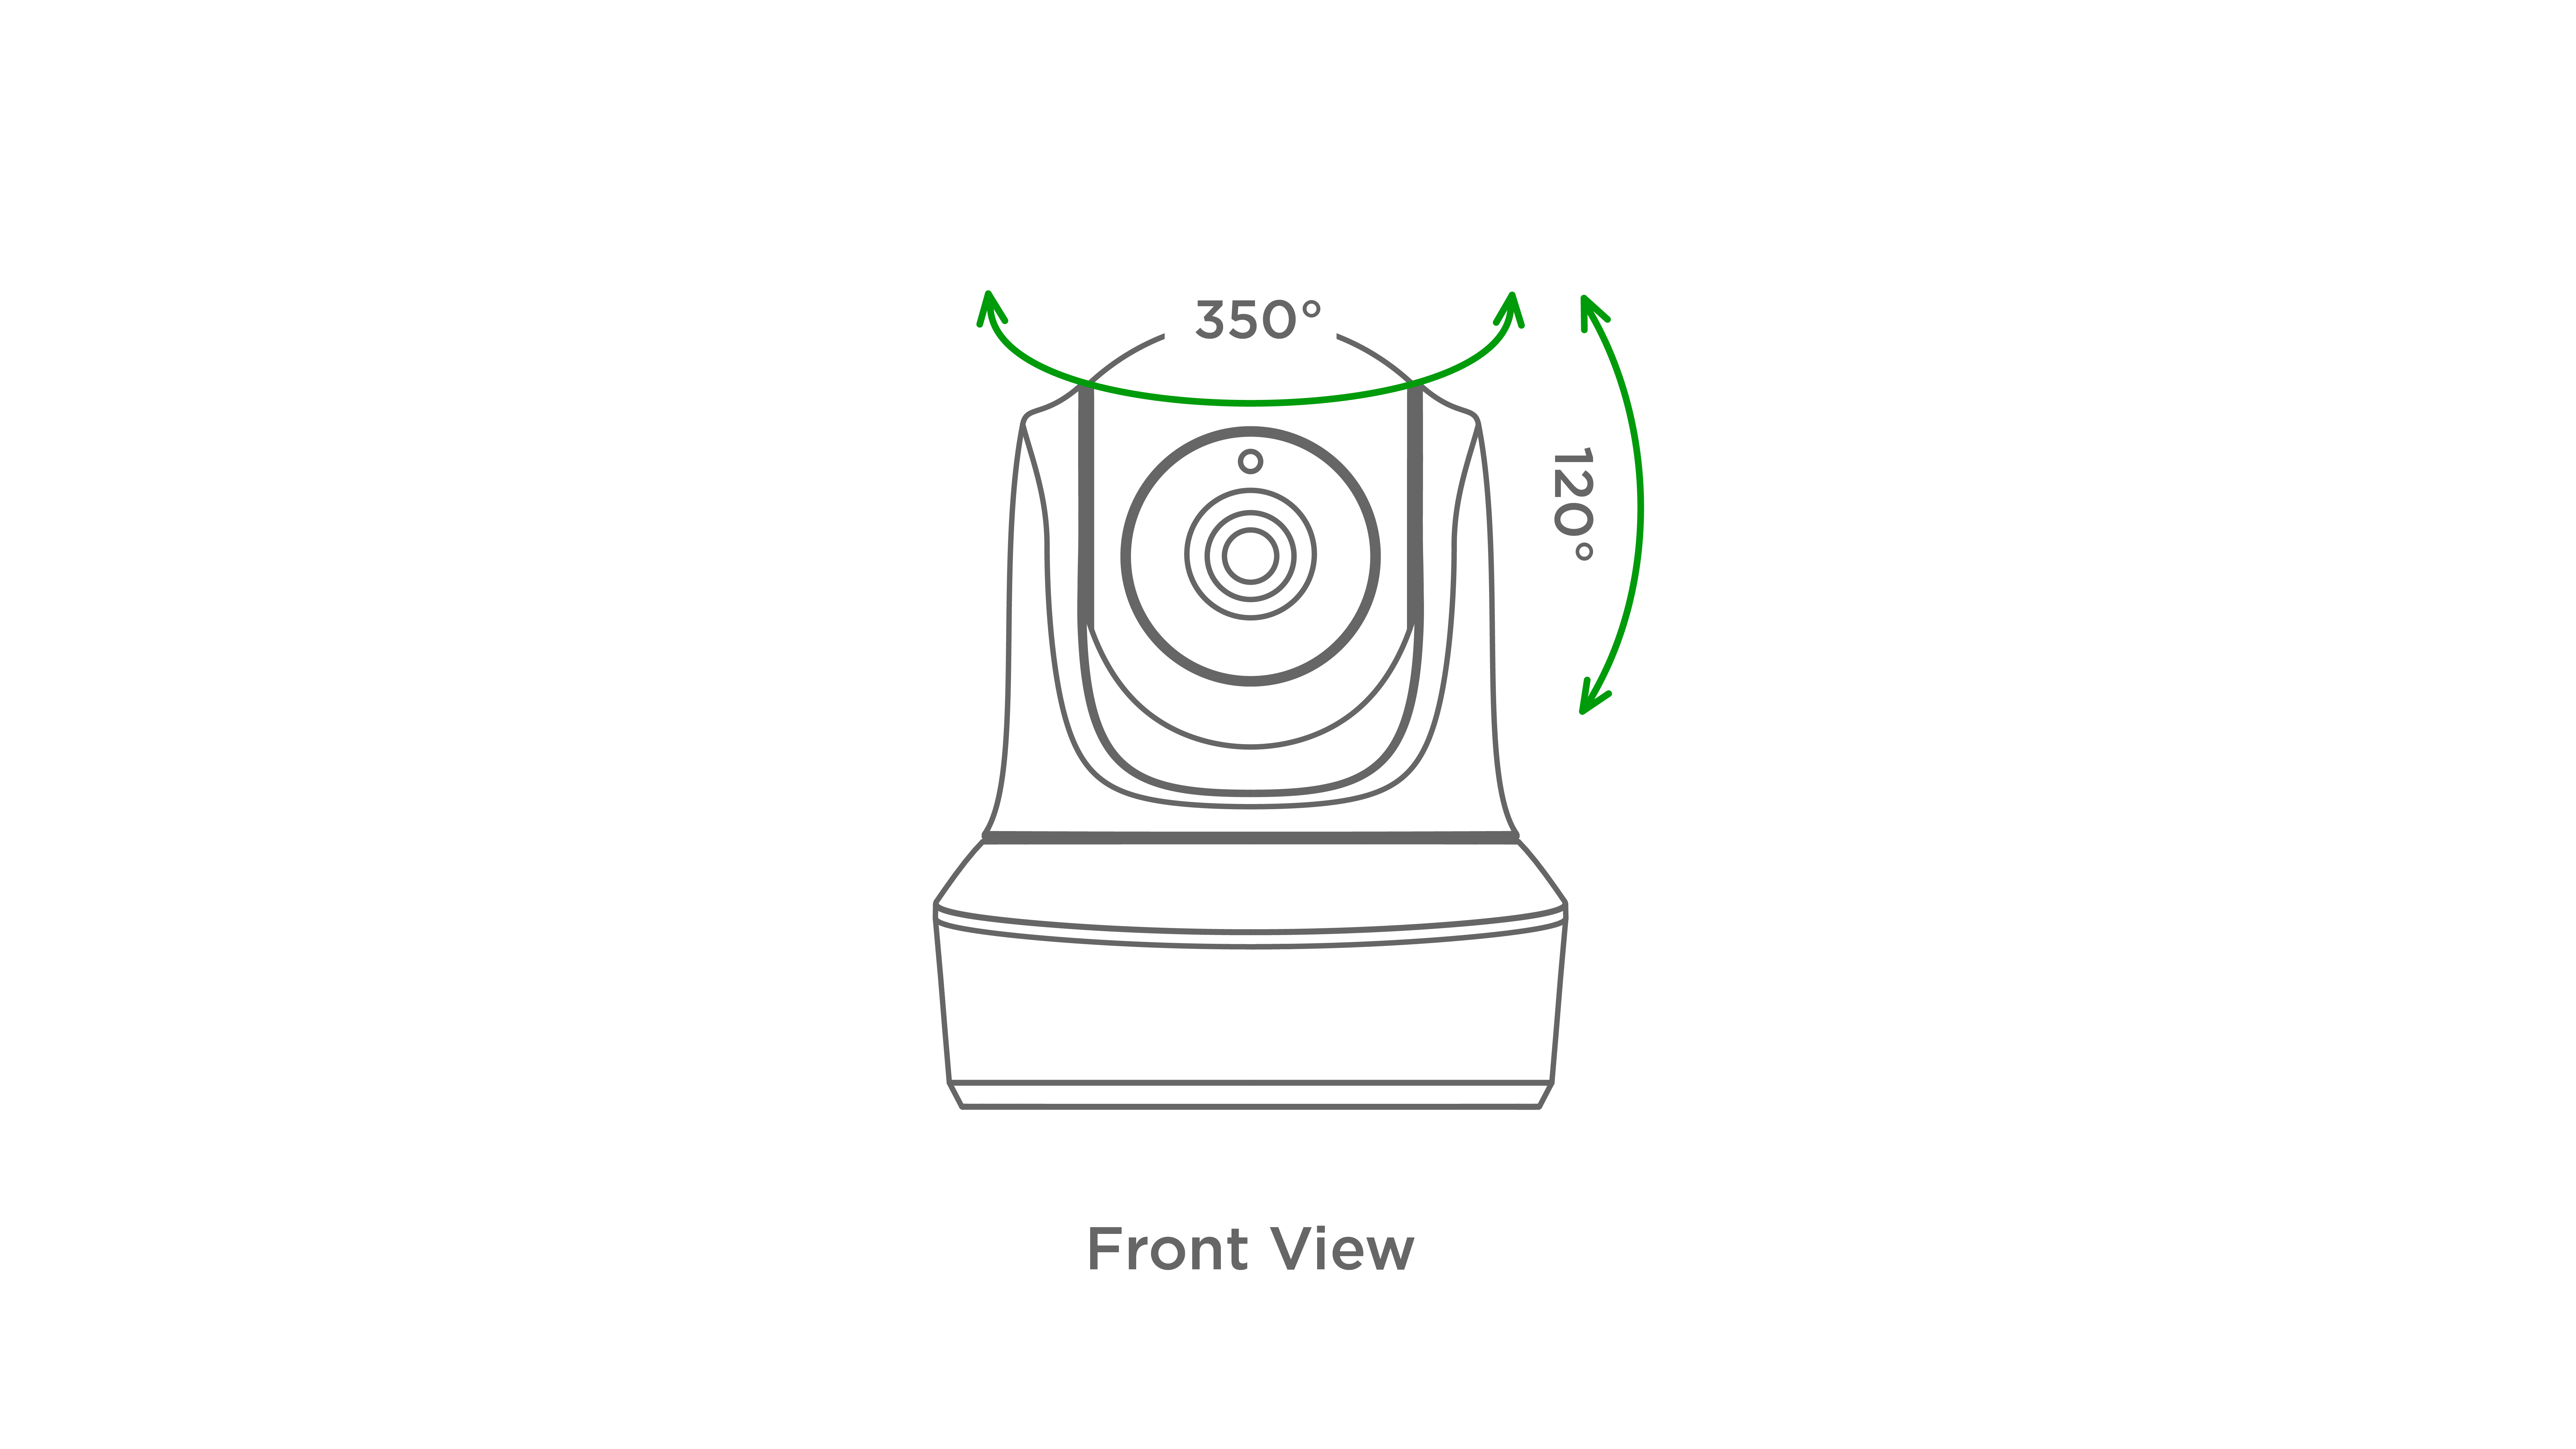
The scope of supply includes the Camera, the Power Adapter, the QSG and the Warranty Card.
No, the Camera's head can only be rotated remotely from the Mobile App only (Using the virtual joystick in the Camera control panel). Manual rotation may damage the engine of the Camera and void the warranty.
All data and device settings will remain unchanged. After the power is restored, the device will be restarted in about 2 minutes and will become available for the User. In case of connection failure, it is recommended to reset the device and restart the Mobile App.
Install the Camera in another Room/Location (The Wi-Fi network in a new installation area will change):
- Sign in to the Perenio Smart app and select the Location where the Camera is activated.
- In the ‘Devices’ tab, select the required Camera from the list and click on the Settings icon.
- In the pop-up window, choose ‘Disconnect device’.
- Wait for around 3 minutes in order for the Camera to disconnect from the current Wi-Fi network.
- Disconnect the Camera from the mains.
- Move the Camera to another Room/Location and connect it to the mains.
- Wait until the Camera is rebooted (It usually takes no more than 2 minutes).
- Activate the Camera in the Mobile App according to par. 2.1 ‘First Installation and Configuration of the Camera’ (B-D) of the manual that can be downloaded from our website.
Yes, it is possible, but before the trip you need to disconnect the device through the Сamera settings and make sure that the new installation place will be provided with a stable Wi-Fi connection. When connecting to a new location, follow instructions for transferring the Camera to another Room or Location specified in the manual that can be downloaded from our website.
The Indoor Motor Camera can be connected to a Wi-Fi network of 2.4 GHz only. However, Wi-Fi routers of most manufacturers support both frequencies (2.4 and 5.0 GHz) now, so if your Wi-Fi network is set to 5.0 GHz only, you should add an access point with a frequency of 2.4 GHz and the Camera will connect.
If the Wi-Fi network doesn't change, it is enough to disconnect the device from the power source and unscrew it (if mounted), install it in a new room and connect it to the power source again. After 1-2 minutes, the Camera will appear in list of devices. If the Wi-Fi network changes, follow instructions specified in the Camera’s manual (Changing the Room or Location for Cameras Section) that can be downloaded from our website.
Install the Camera in another Room/Location (The Wi-Fi network in a new installation area will change):
- Sign in to the Perenio Smart app and select the Location where the Camera is activated.
- In the ‘Devices’ tab, select the required Camera from the list and click on the Settings icon.
- In the pop-up window, choose ‘Disconnect device’.
- Wait for around 3 minutes in order for the Camera to disconnect from the current Wi-Fi network.
- Disconnect the Camera from the mains.
- Move the Camera to another Room/Location and connect it to the mains.
- Wait until the Camera is rebooted (It usually takes no more than 2 minutes).
- Activate the Camera in the Mobile App according to par. 2.1 ‘First Installation and Configuration of the Camera’ (B-D) of the manual that can be downloaded from our website.
The Motor PIR Camera is equipped with 11 Infrared LEDs that light up in the dark and provide visibility at night. These LEDs will be barely visible in the dark as the peak wave length is 850 nm.
The process of resetting to factory settings is as follows:
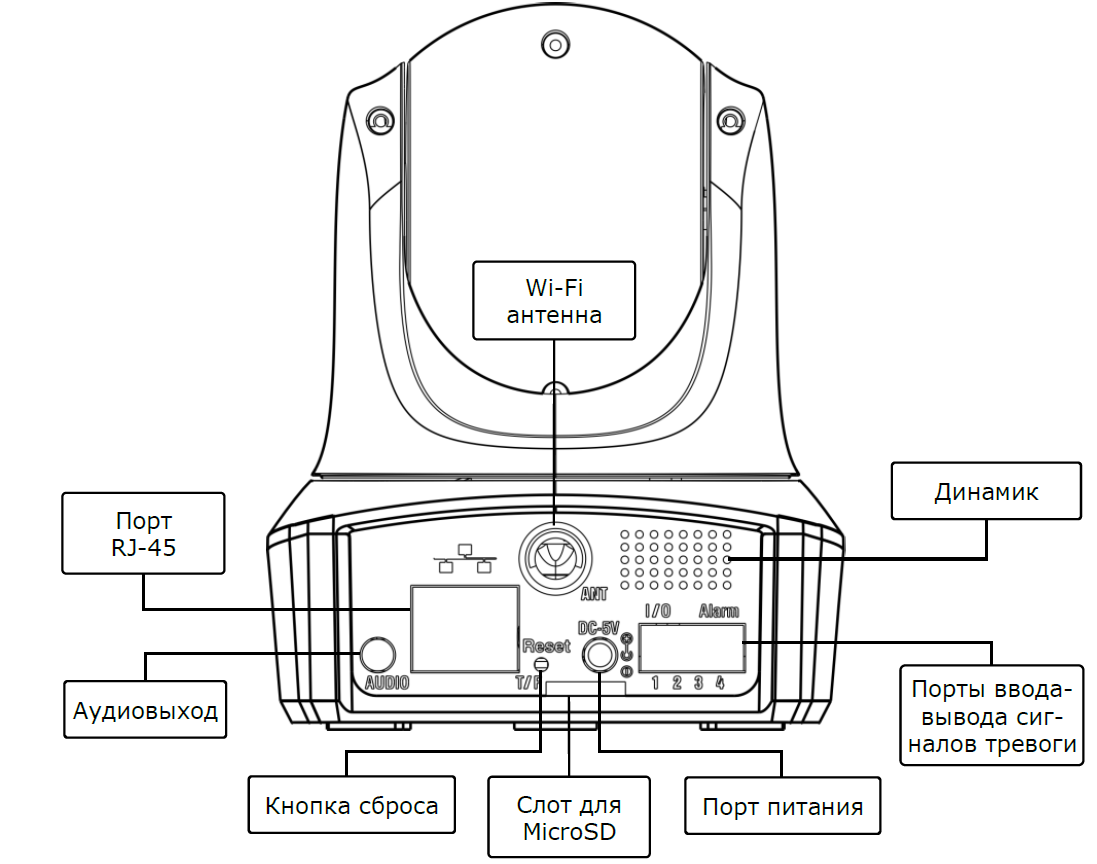
- Press and hold the Reset Button located on the back of the Camera under the antenna for at least 10 seconds (a distinctive click should sound).
- Release the Reset Button after the Camera beeps.
- Wait until the reset process of the Camera is finished (The Camera's head stops rotating in all directions and returns to its original position).
The Reset Button is used to reset a device to factory settings.
Yes, the User can rotate the Camera's head from the smartphone, as well as start video recording, take images and set various scenarios.
You can add an unlimited number of devices.
Most likely, your Camera is in the Disarmed Mode.
- All categories
- Glossary
- Apple HomeKit
- Amazon
- Voice Control Setup
- Power Link
- Red Atom
- Portable UV Lamp Mini Indigo
- Smart UV Disinfection Kit UV Lightsaber
- Power Link Wi-Fi
- Google Assistant
- Notifications
- Control Gateway
- Indoor Motor Camera
- Indoor Fixed Camera
- Smoke Sensor
- Leak Sensor
- Door & Window Sensor
- Motion Sensor
- Smart Security Kit
- Powering on
- Installation
- Connection to the Mobile App
- Specification


