- Plug the Power Link into a power source and activate it in the Perenio Smart Mobile Application.
Warning! Perenio Smart Home requires a Perenio Control Gateway or an IoT Router to activate the device.
- Download the Amazon Alexa app on the Google Play or App Store. Log in or register.
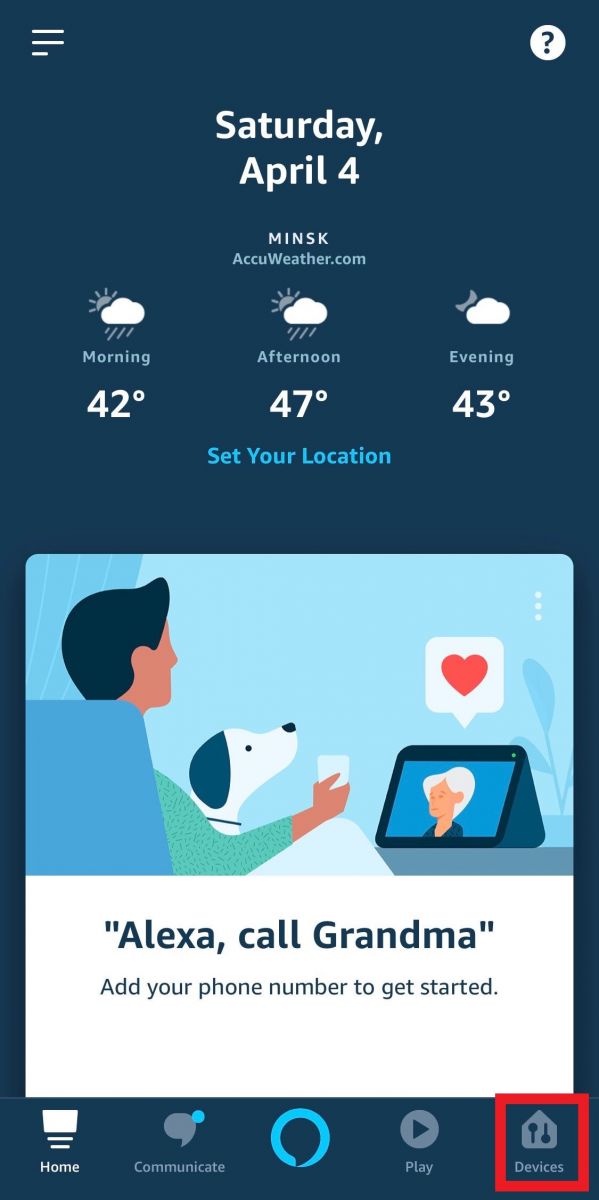
- Click on the “Devices” tab in the lower right corner of the screen.
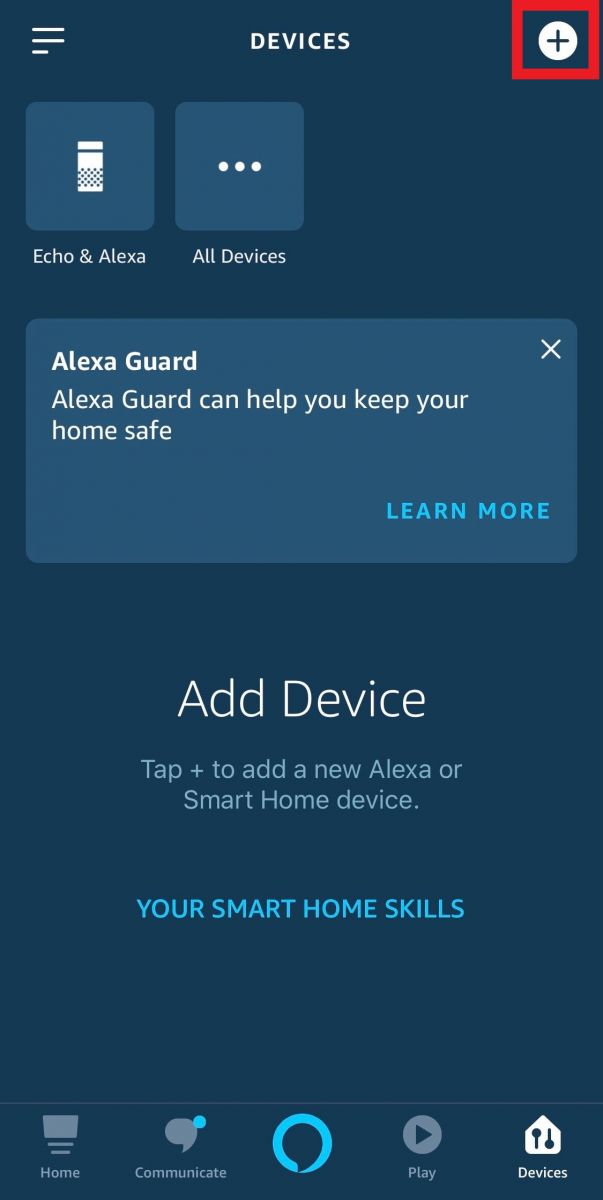
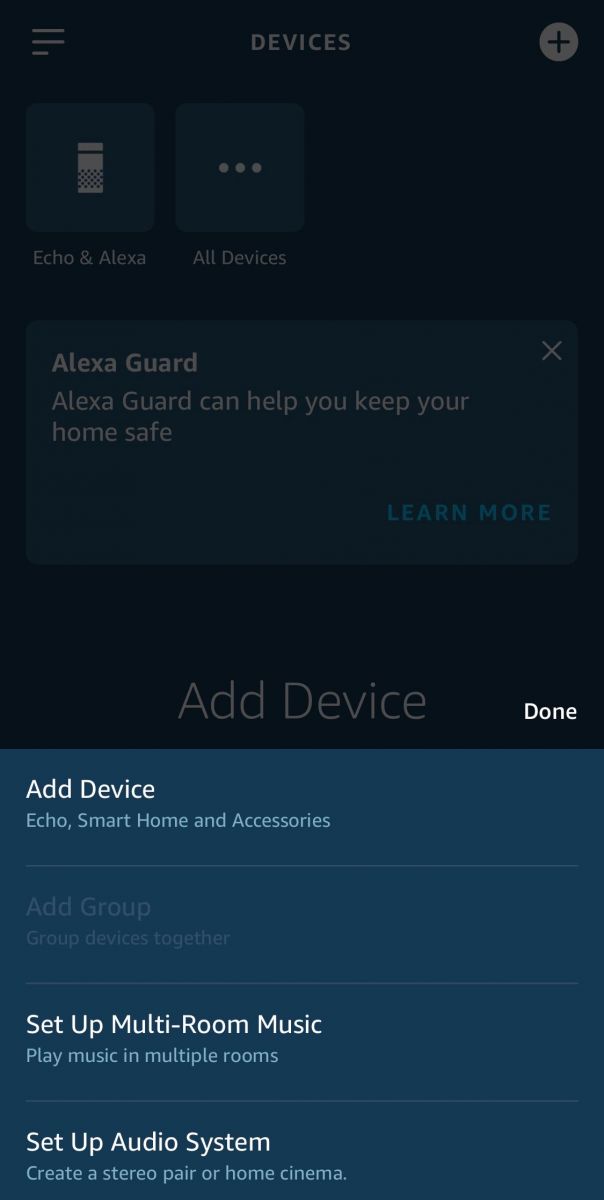
- Next, click on “+” and select “Add device”.
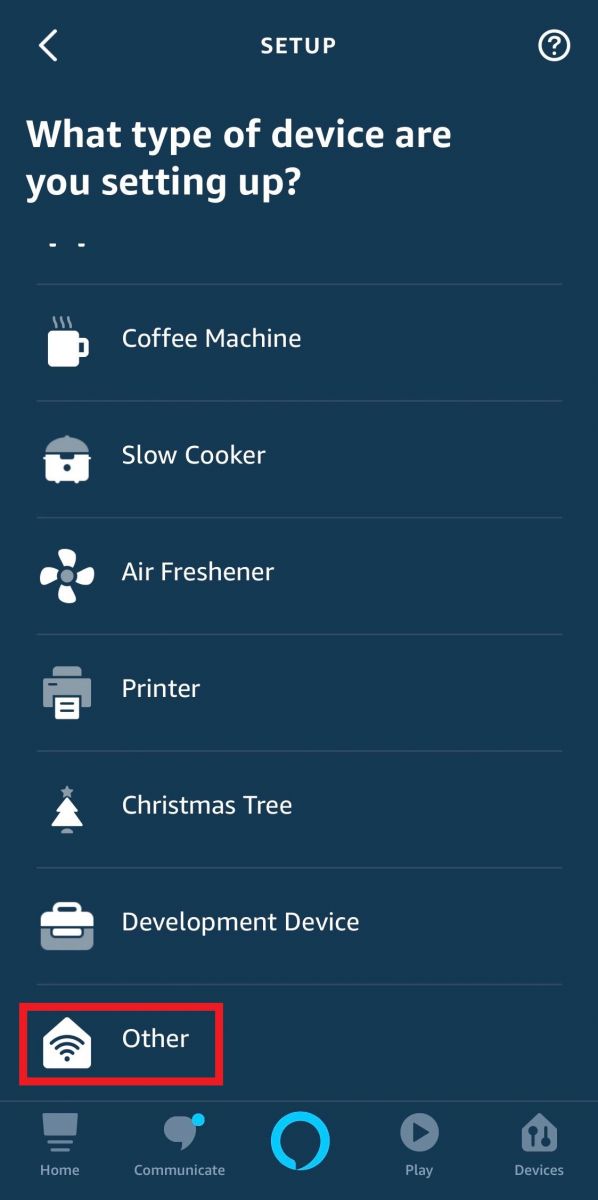
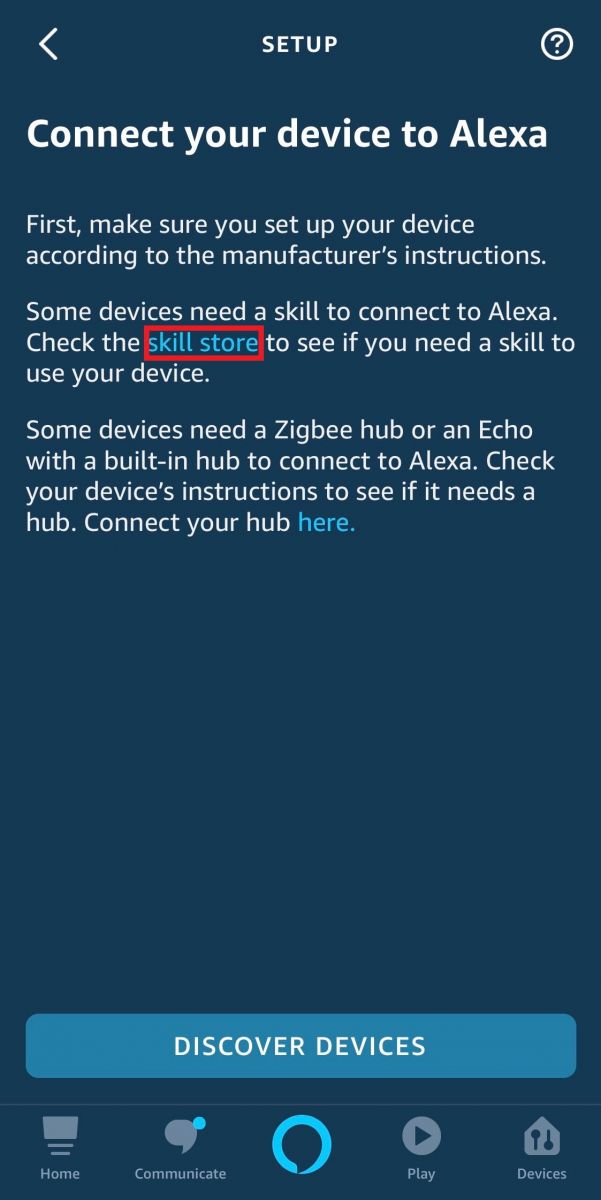
- On the device type selection screen, select “Other” and then click on “skill store”.
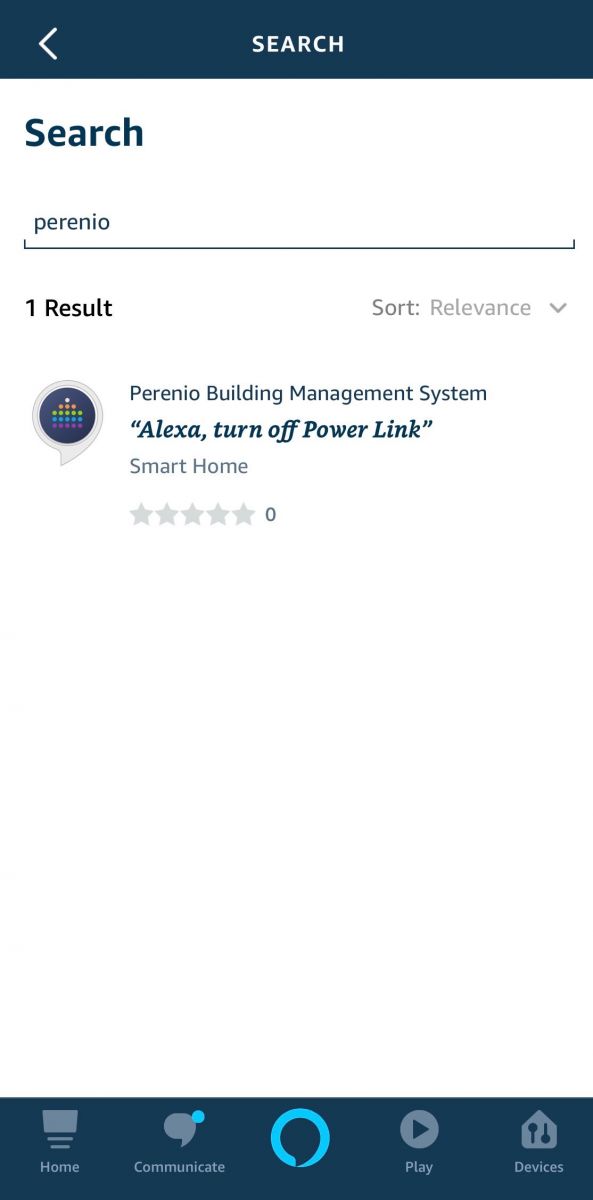
- Enter and select the Perenio: Smart Home and Office in the search bar.
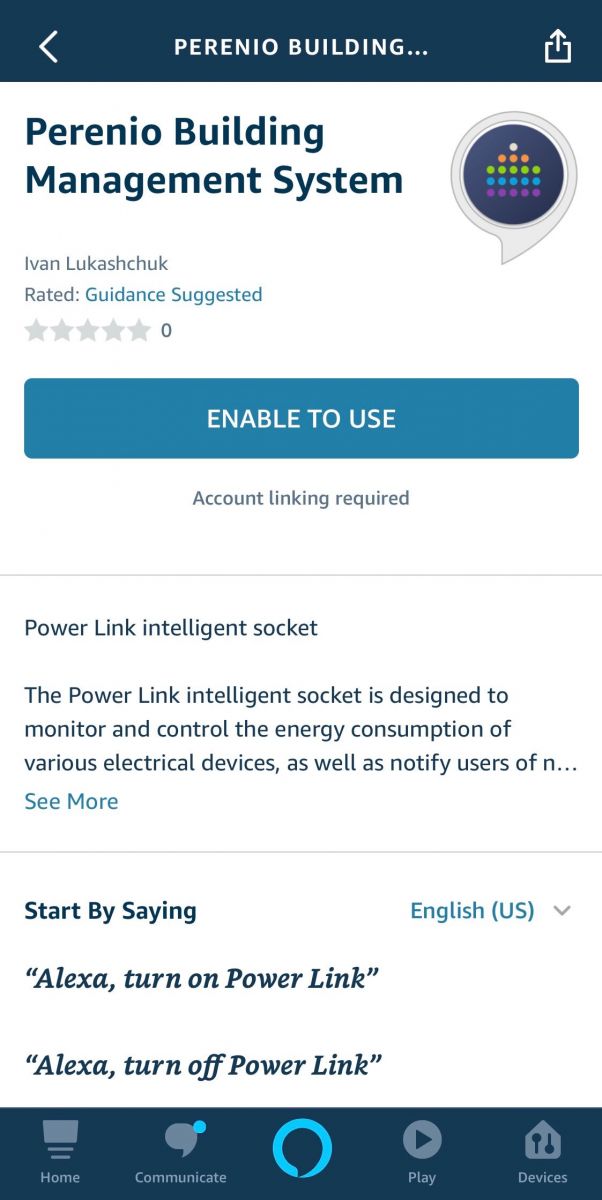
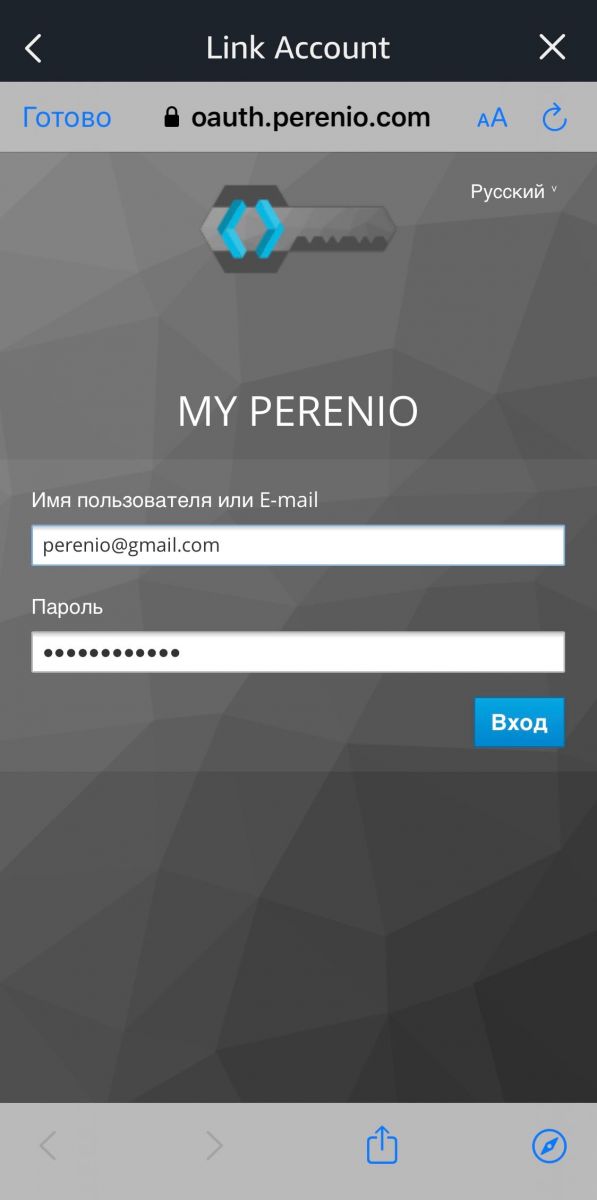
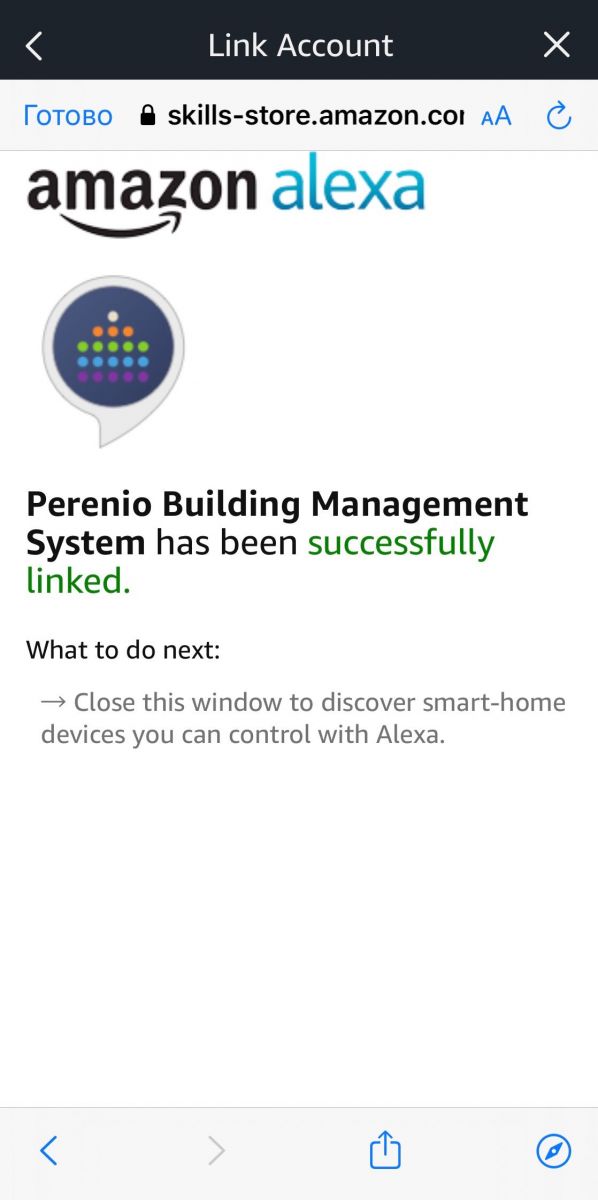
- Next, click “Enable to use”, after which you will be redirected to the login page for your Perenio account, where you must enter the account information in which the power plug is connected.
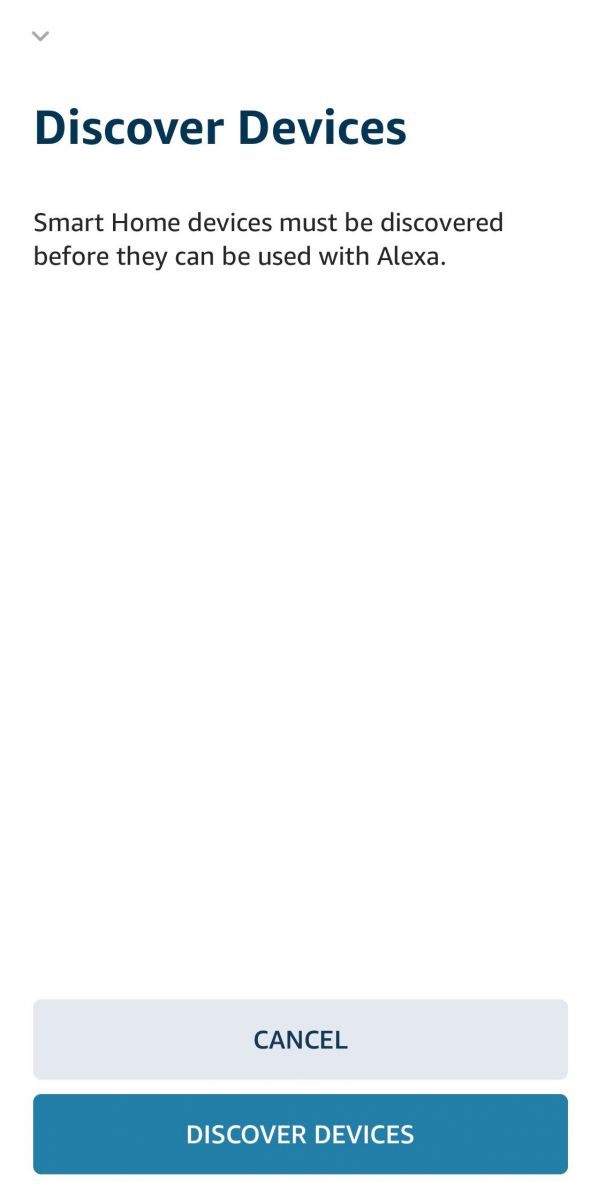
- Then close the successful activation window and click “Discover devices”.
- The device search process begins, which takes around 45 seconds.
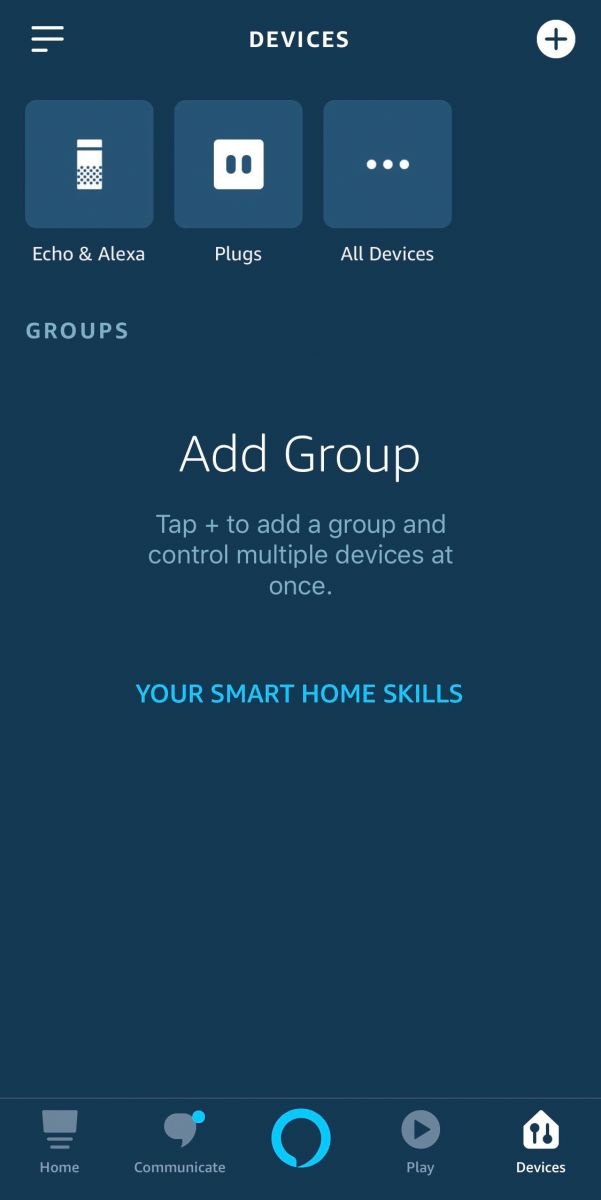
- The found power plug will be displayed on the Devices tab in the application.
- You can now control the plug through Alexa's voice assistant.


Warning! To activate the device in the Apple HomeKit application, Control Gateway or IoT Router are not required.
- Insert the Power Link device to the source of power.
- Turn it on by pressing the power button (the indicator on the power button will blink green).
Note. When you first switch on the Power Link device, or did not activate it in the Perenio Smart App through the Control Gateway or the IoT Router, the default mode will be the Bluetooth (MFi) Mode.
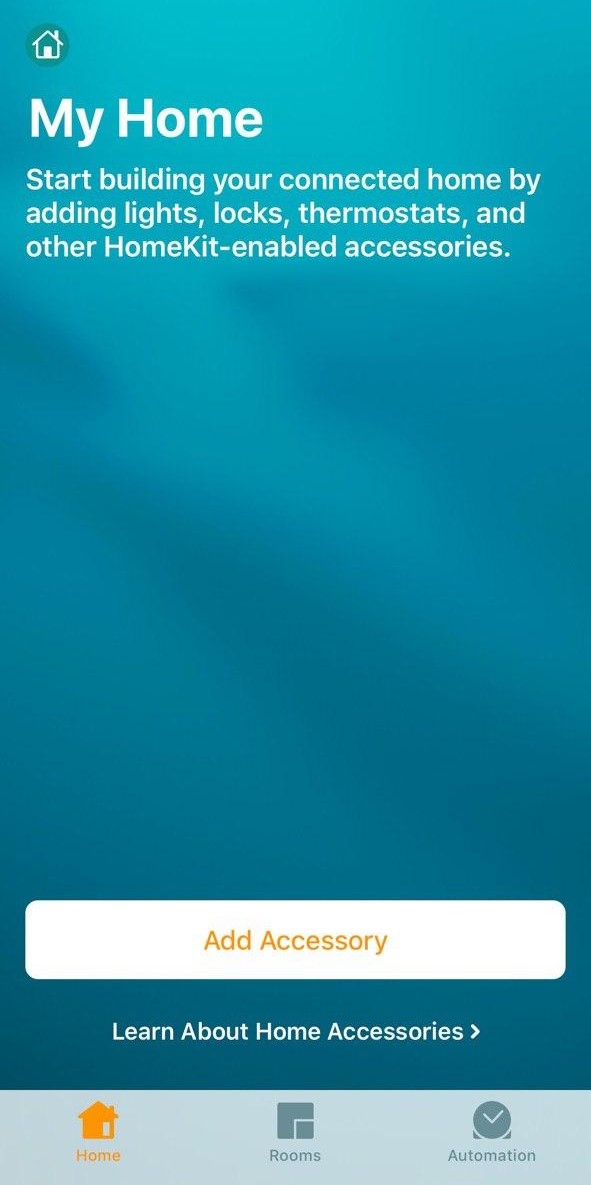
- Open the “Home” mobile application on your smartphone (Apple HomeKit) and click on the “Add Accessory” button.
- Scan the QR code available in the quick start guide and confirm the addition of an uncertified accessory, if necessary.
- Wait for the connection process to complete.
- After a successful connection, select the plug installation room and click Next.
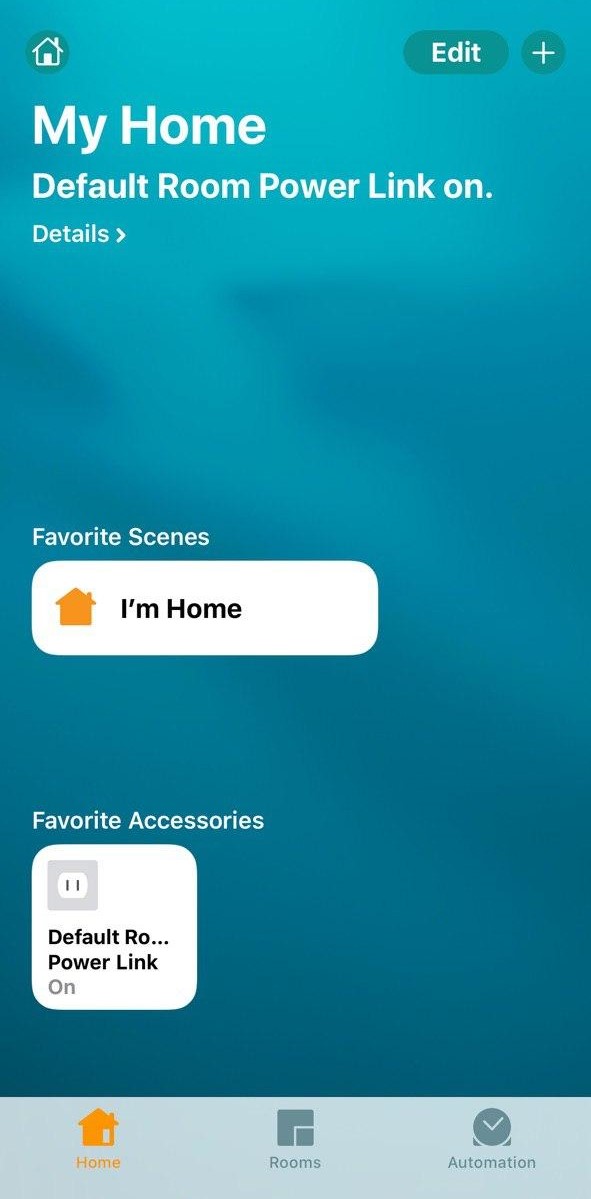
- The connected device appears on the main screen of the application (if it includes in Favorites).
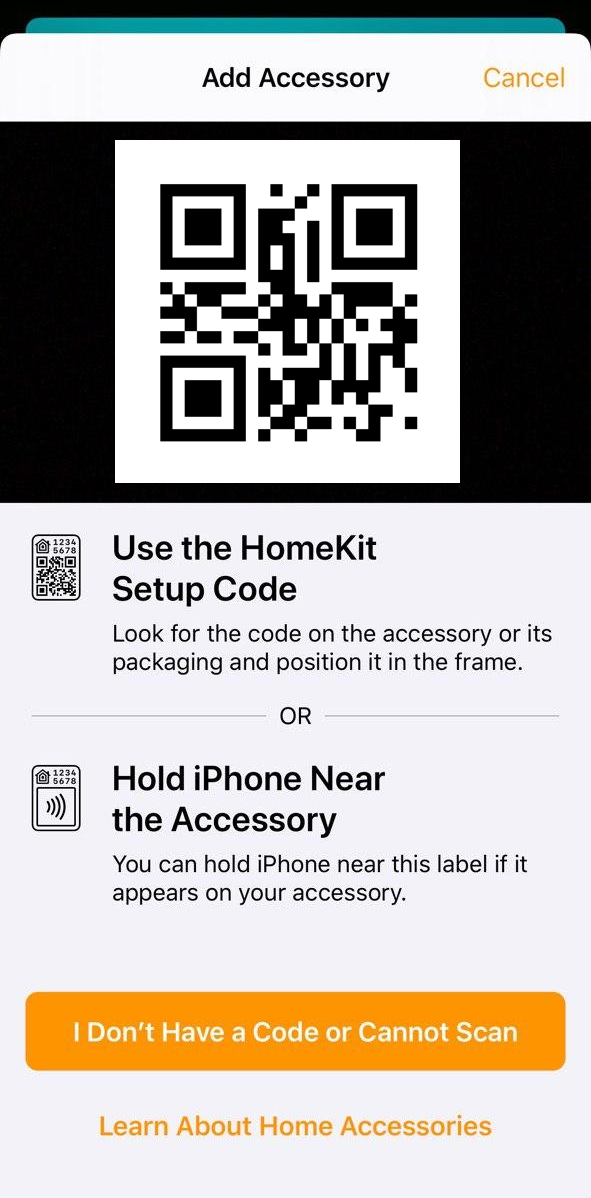
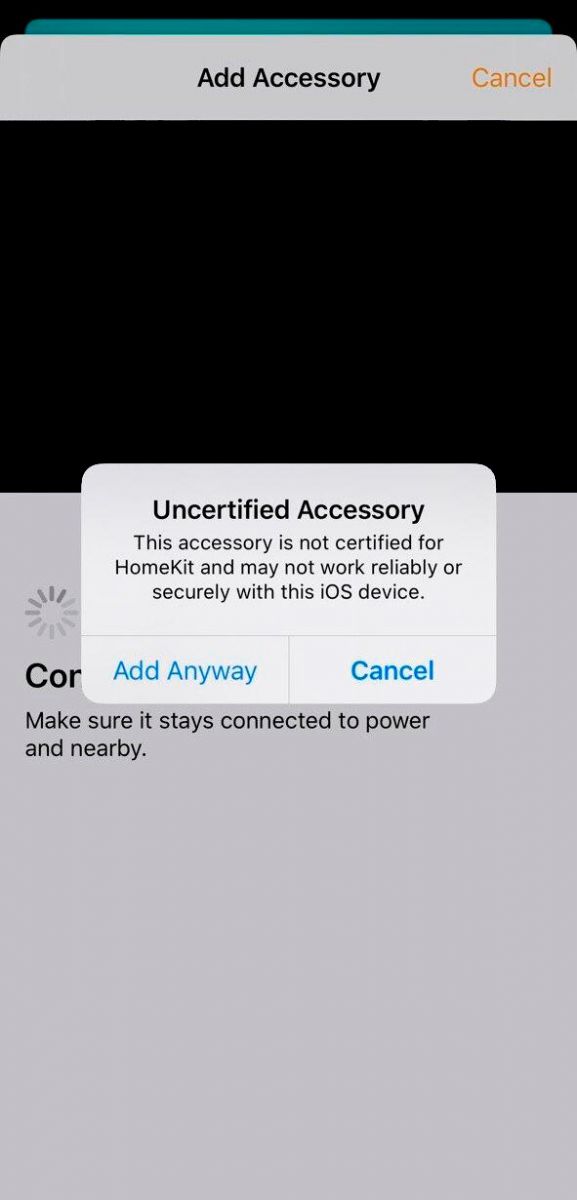
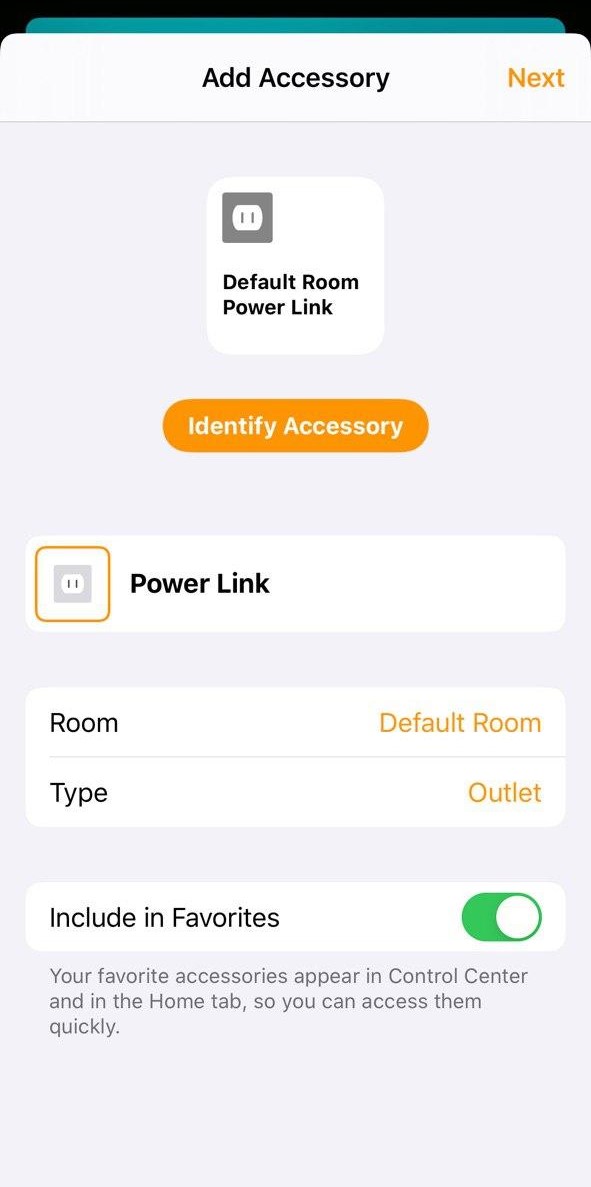
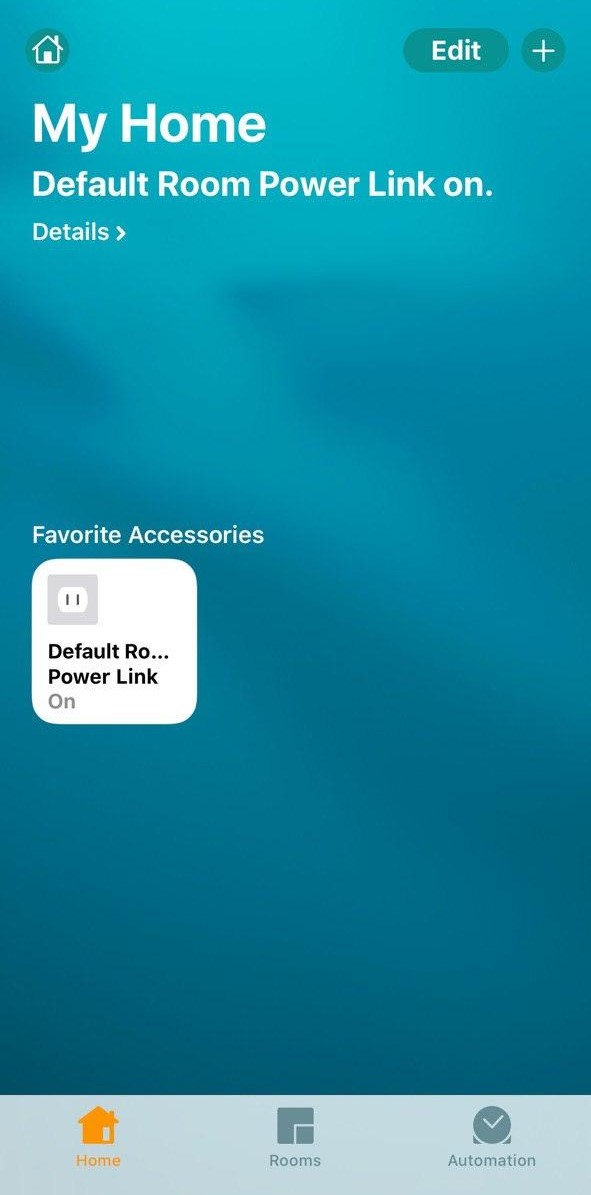
- Activate the power plug in the Apple HomeKit app.
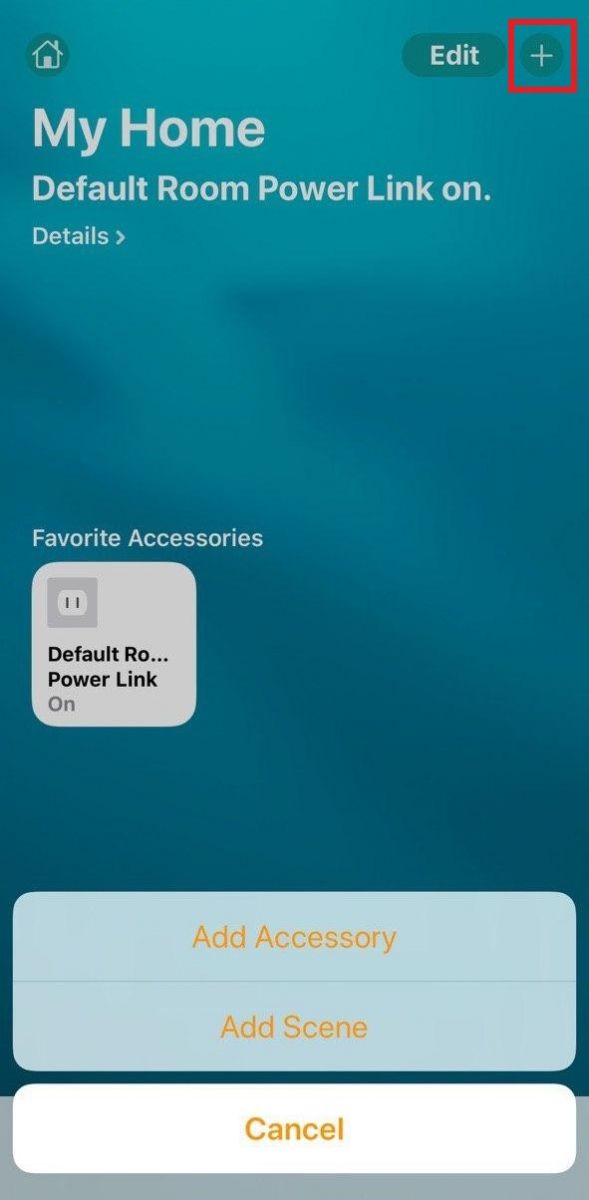
- Then, on the main screen of the application, click on “+” in the upper right corner and select “Add Scene”.
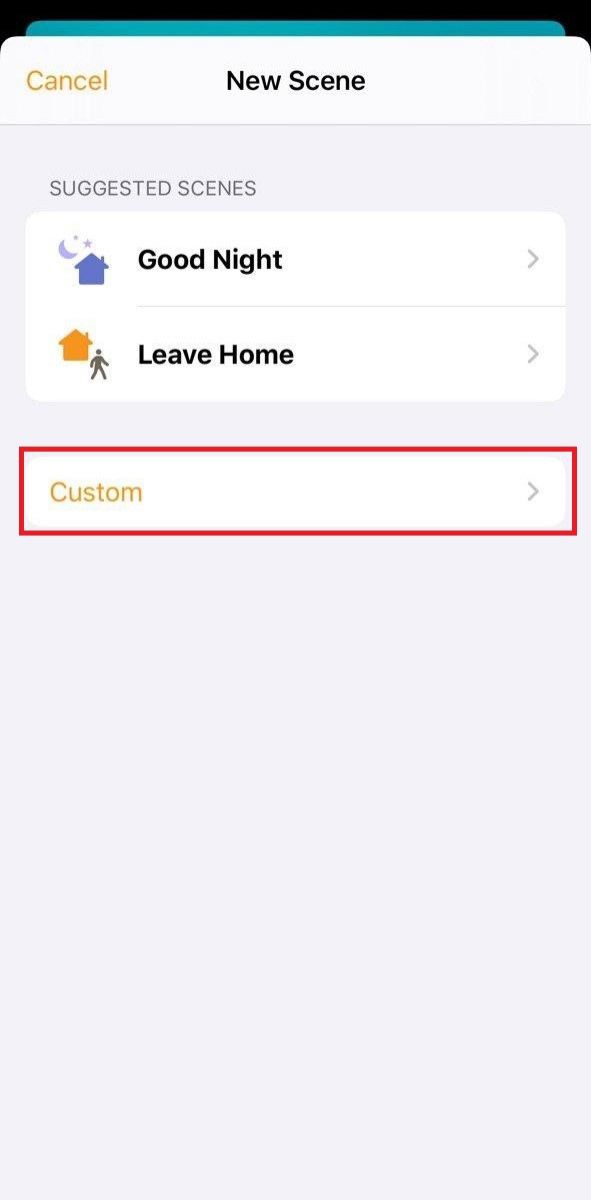
- Next, click "Custom”.
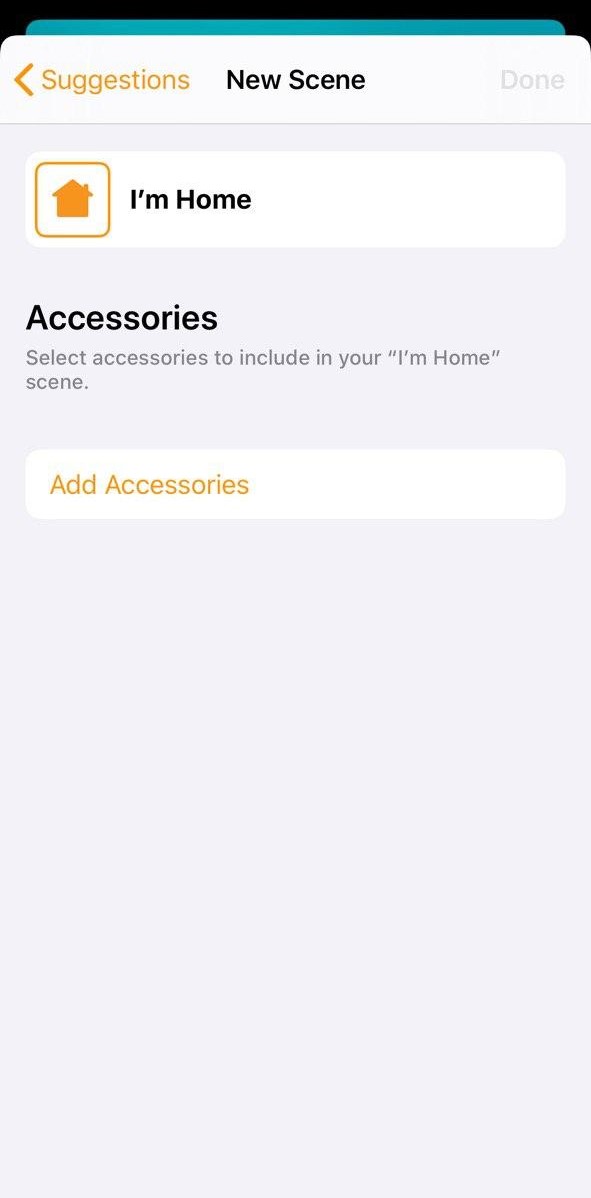
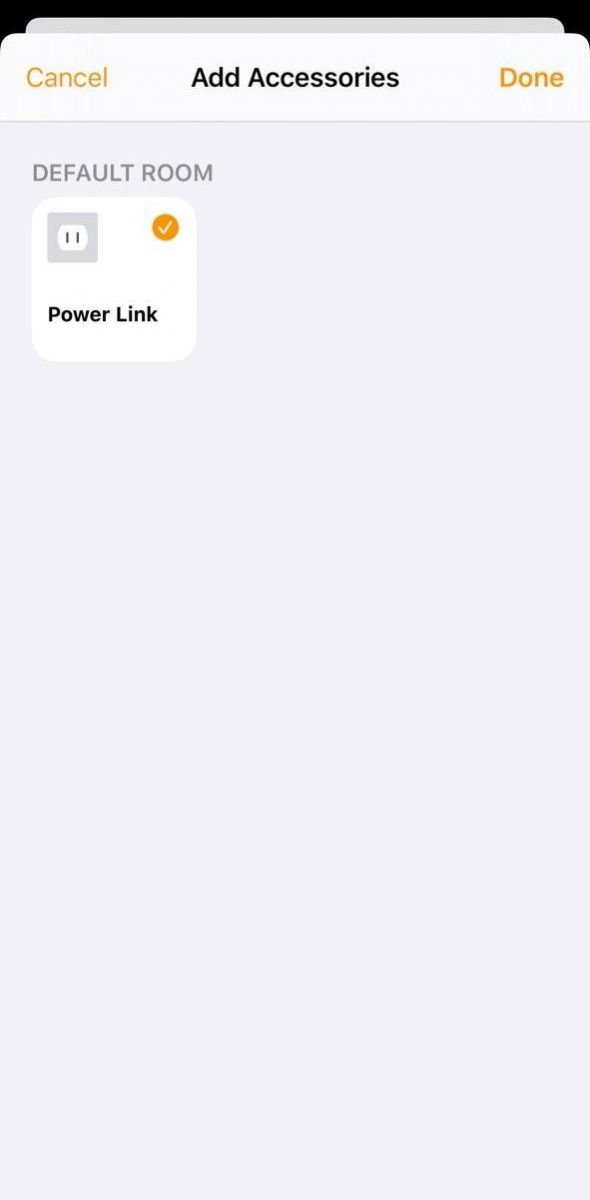
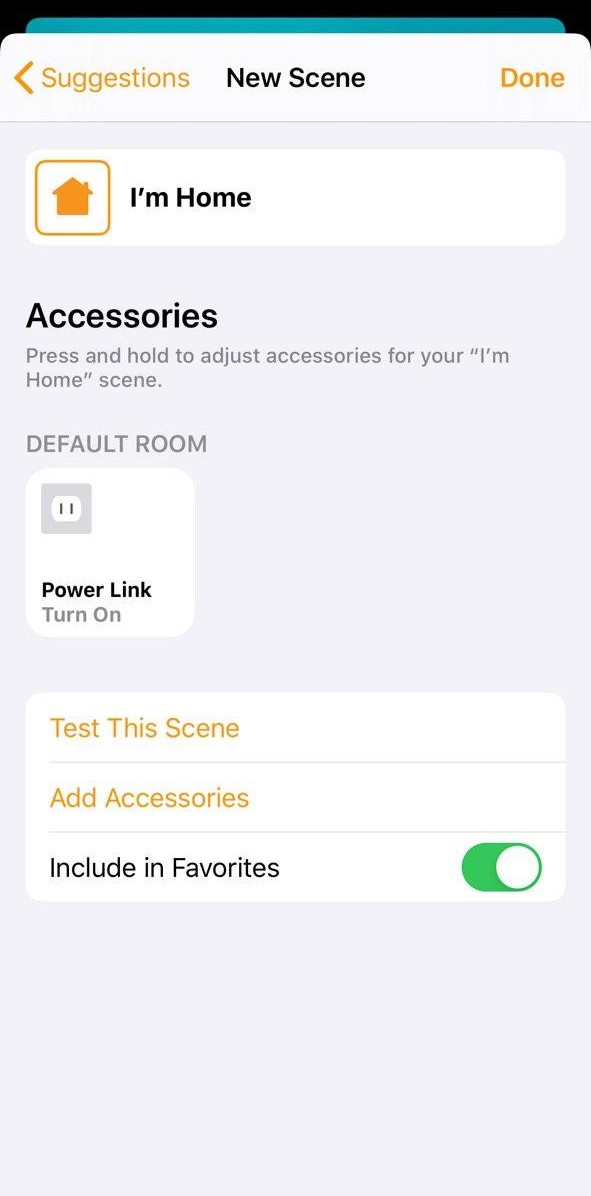
- Enter a name for the scene and add the Power Link socket to the created scene.
- You can check the scene, add additional devices to it, or add it to Favorites to appear on the main application screen.
- Click “Done”.
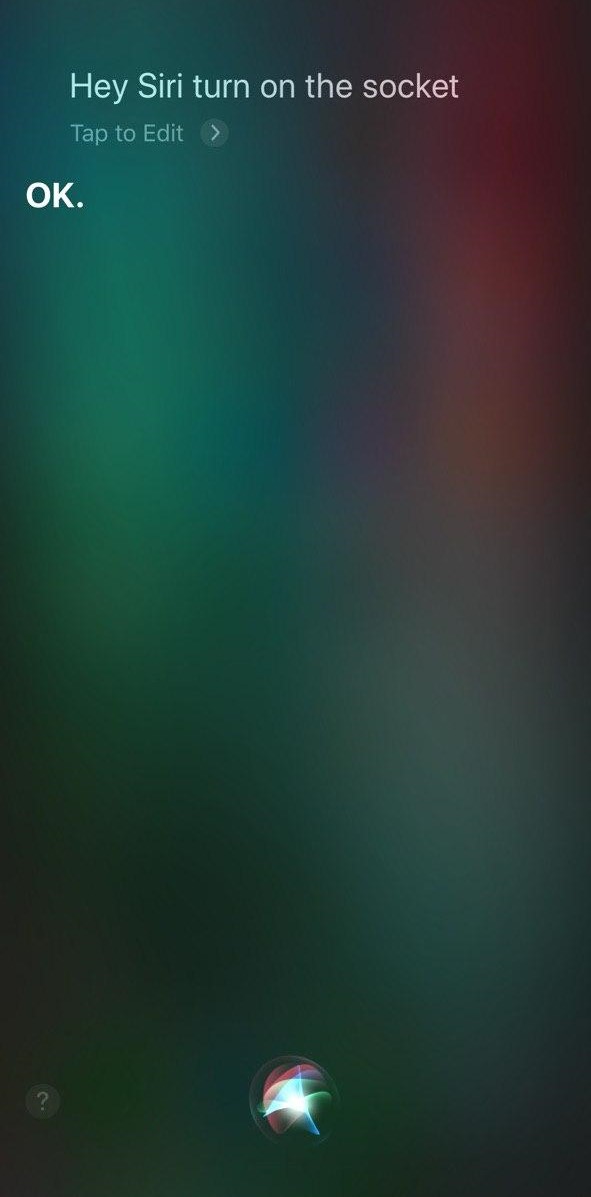
- To control Power Link using Siri's voice assistant, you need to pronounce the name of the configured scene or a specific command, for example, “Turn on/off the socket”.

With it you can control the energy consumption of various electrical appliances.
No, the socket works autonomously with Bluetooth.
Yes, the socket has a built-in Real time Clock and a timer that allow you to create different scenarios for the socket. Including switching the appliances on and off at certain time.
Yes, Bluetooth and ZigBee provide remote control of the socket.
Yes, if you are connected to Perenio: Smart Home and Office.
It's simple: plug it into an electrical socket, press the button Power and Plug in to the app.
The socket reads voltage and amperage, counts power consumption, and how well the network parameters meet the requirements.
The history of logs can be viewed in the application Perenio: Smart Home and Office.
Yes, if you specify the names of the connected sockets. For example, you have a socketwhere an iron is always connected.
Yes, the socket is integrated into the Apple Home Kit.
Yes, it is visible in mobile application, as well as at built-in multicolor RGB indicator. The color is responsible for the current state of the socket.
The socket is intended for indoor use only.
Yes, the socket is fitted with safety shutters.
- All categories
- Glossary
- Apple HomeKit
- Amazon
- Voice Control Setup
- Power Link
- Red Atom
- Portable UV Lamp Mini Indigo
- Smart UV Disinfection Kit UV Lightsaber
- Power Link Wi-Fi
- Google Assistant
- Notifications
- Control Gateway
- Indoor Motor Camera
- Indoor Fixed Camera
- Smoke Sensor
- Leak Sensor
- Door & Window Sensor
- Motion Sensor
- Smart Security Kit
- Powering on
- Installation
- Connection to the Mobile App
- Specification


