Yes, you can check the status of the sensor in the Perenio Smart App. If the sensor is connected and working, then in the APP you will see the ONLINE status. If the battery of the sensor is discharged or for some reasons there is no connection, the application will display the status that the sensor is OFFLINE.
Yes, it is recommended to test the Smoke Sensor's alarm at least once a week.
Yes, you can disconnect the Sensor from the Control Gateway manually or in the Sensor settings in the application. In the first case, press and hold the reset button on the sensor until the LED flashes (It generally takes up to 5 seconds).
To check that the Sensor was disconnected, you should update the list in the “Devices” tab (Pull the screen down until the progress icon appears and the data is updated). If the Sensor is disconnected, it will disappear from the list of available devices.
The Smoke Sensor detects visible smoke particles at the flameless stage and transmits a corresponding alarm to the Perenio® Control Gateway, as well as emits a loud signal.
A Smoke Sensor is recommended to be installed in all rooms (apartment/house). When the room length exceeds 9 meters, it is recommended to install two Smoke Sensors. As a rule, the sensor shall be mounted on the ceiling using 3M Tape or screws (at a distance of at least 30 cm from lamps and decorations, as well as at a distance of at least 15 cm from walls and corners). Avoid installing the Sensor in the kitchen, garage, boiler room, etc., as they are subject to accumulation of combustion products.
Do not install the Sensor in rooms with high level of humidity, insects, dust and/or grease, as well as near air conditioners, ceiling fans and extract systems, including heaters and fluorescent lamps.
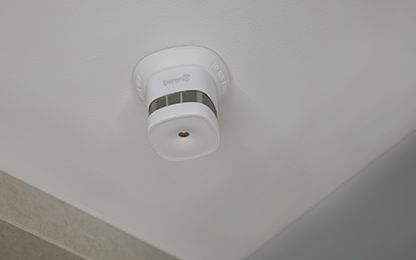
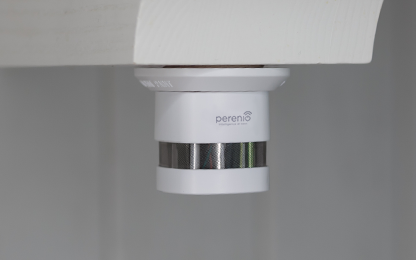
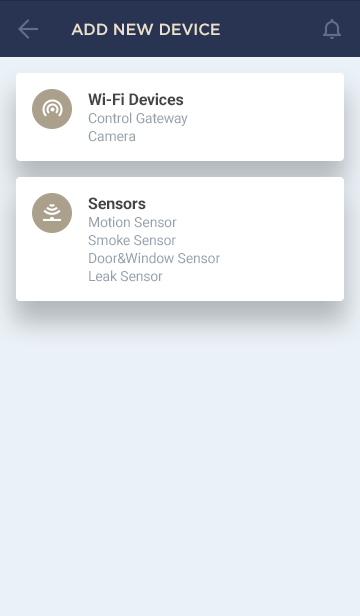
To connect the Sensor to the Control Gateway, you shall login to your Perenio Smart account and follow below steps:
- Click on the icon in the upper right corner of the “Devices” tab and select “Add new device”. Then, click on the “Sensors” button in the list.
- Select the Control Gateway to which the Sensor should be connected.
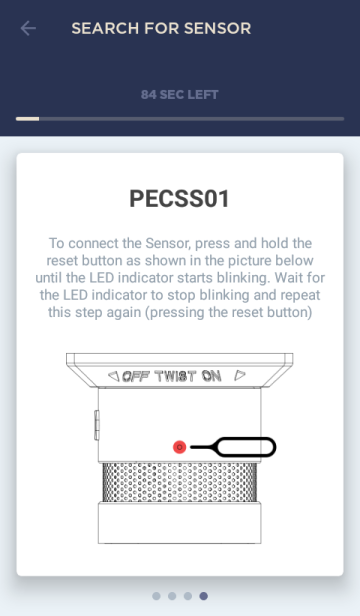
- Wait until the process of searching for Sensors starts, then press and hold the reset button until the LED flashes. Wait until it stops flashing, and repeat this step (pressing the reset button) again.
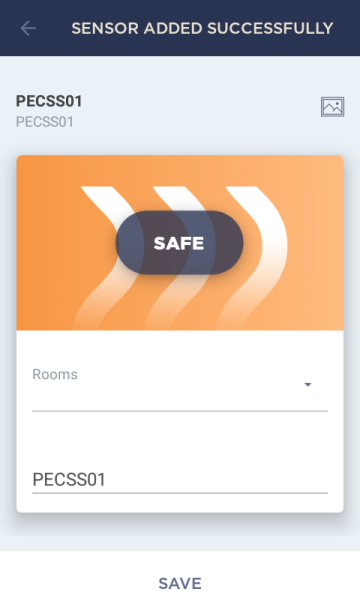
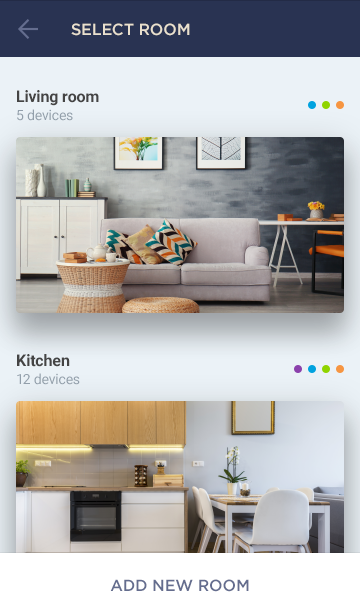
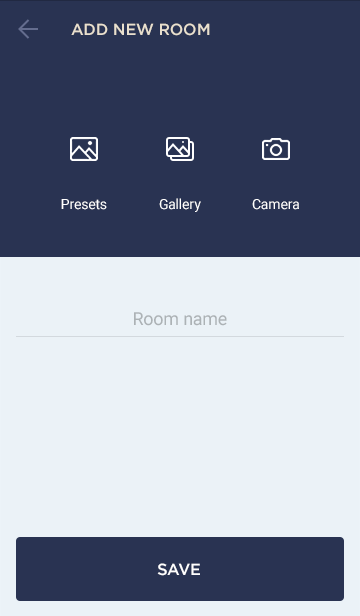
- After successfully connecting the Sensor to the Control Gateway, enter its name and select the room.

To check operation of the Smoke Sensor, it is necessary to press the Test Button in order for the signal to be emitted.
The scope of supply includes the Smoke Sensor (battery incl.), the reset pin, screws with dowels, the 3M Tape, the QSG and the Warranty Card.
Yes, the Smoke Sensor can be operated autonomously (without connecting to the Control Gateway). But in order to receive notifications on a smartphone, it is necessary to connect it to the Control Gateway first.
Under normal operating conditions, e.g. when the Smoke Sensor is installed on a ceiling in a room where a person smokes, it will not send alarms since concentration of visible smoke particles is too low to trigger the Sensor.
The Smoke Sensor can operate on a single battery for up to 36 months.
To check operation of the Smoke Sensor, it is necessary to press the Test Button in order for the signal to be emitted.
The following two ways are possible:
- In the case of false alarms, the signal will be automatically turned off in 10 seconds after being triggered.
- In the case of fire, the signal will be turned off only after removal of the fire source.
Possible reasons are as follows:
- - The Control Gateway is not activated in the Perenio Smart Mobile App or is not connected to the power supply;
- - The Sensor is already connected to another Control Gateway;
- - The Sensor battery level is too low;
- - The Sensor is located at a distance of more than 4.5 meters from the Control Gateway;
- - The Control Gateway is not connected to the network: Check the power supply;
- - A third-party sensor is connected that does not support a valid ZigBee Protocol.
The Smoke Sensor is NOT designed to detect gas, flames and high temperatures, as well as to extinguish fire. It is not recommended to install it in areas with a high vapor content since false alarms are possible.
Yes, you can disconnect the Sensor from the Control Gateway manually or in the Sensor settings in the application. In the first case, press and hold the reset button on the sensor until the LED flashes (It generally takes up to 5 seconds).
To check that the Sensor was disconnected, you should update the list in the “Devices” tab (Pull the screen down until the progress icon appears and the data is updated). If the Sensor is disconnected, it will disappear from the list of available devices.
Yes, of course. There are several options for correct relocation of the device, namely:
1. Install the Sensor in another Room (The Sensor will remain connected to the same Control Gateway) as follows:
- Move the Sensor to another room and make sure it is at an allowable distance from the Control Gateway;
- Install the Sensor in a new room;
- Change the Room in Sensor settings in the User Account.
2. Install the Sensor in another Room/Location (The Sensor will be connected to another Control Gateway):
- Sign in to the Perenio Smart app and select the Location where the Sensor is activated;
- In the ‘Devices’ tab, select the required Sensor from the list and click on the Settings icon;
- In the pop-up window, choose ‘Disconnect device’;
- Move the Sensor to another room and make sure it is at an allowable distance from the Control Gateway;
- Install the Sensor in a new room;
- Reconnect the Sensor to the Control Gateway through the Perenio Smart application.
- All categories
- Glossary
- Apple HomeKit
- Amazon
- Voice Control Setup
- Power Link
- Red Atom
- Portable UV Lamp Mini Indigo
- Smart UV Disinfection Kit UV Lightsaber
- Power Link Wi-Fi
- Google Assistant
- Notifications
- Control Gateway
- Indoor Motor Camera
- Indoor Fixed Camera
- Smoke Sensor
- Leak Sensor
- Door & Window Sensor
- Motion Sensor
- Smart Security Kit
- Powering on
- Installation
- Connection to the Mobile App
- Specification


